Category: vapor barrier

September 22, 2017

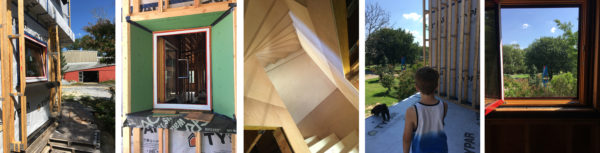
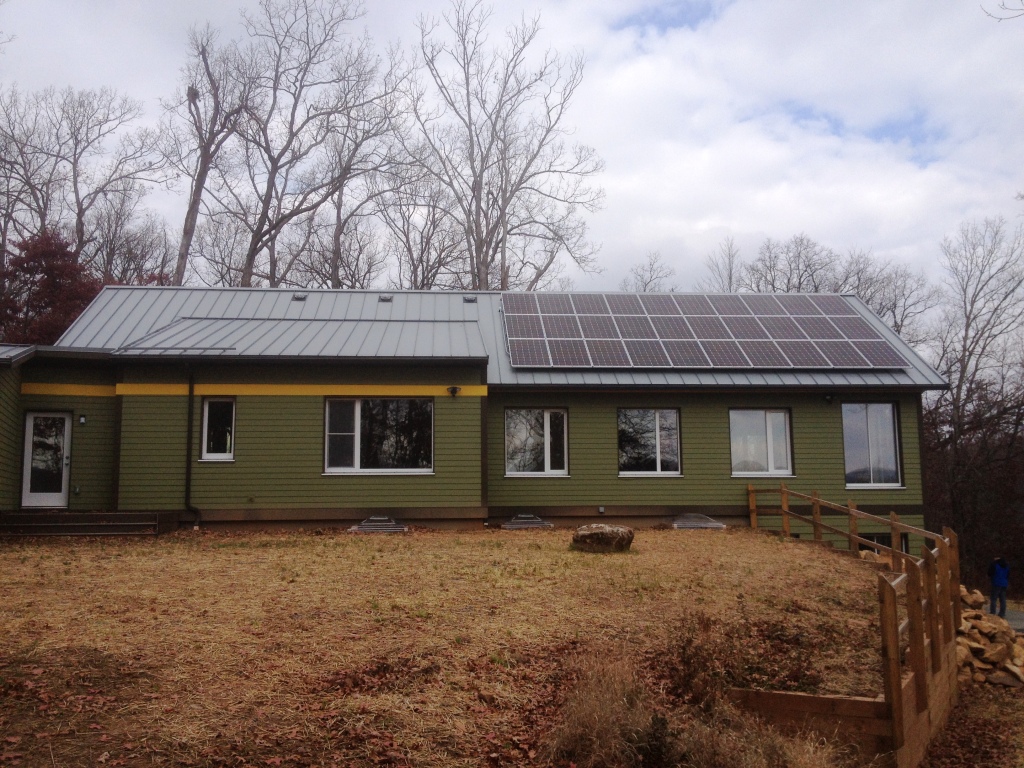
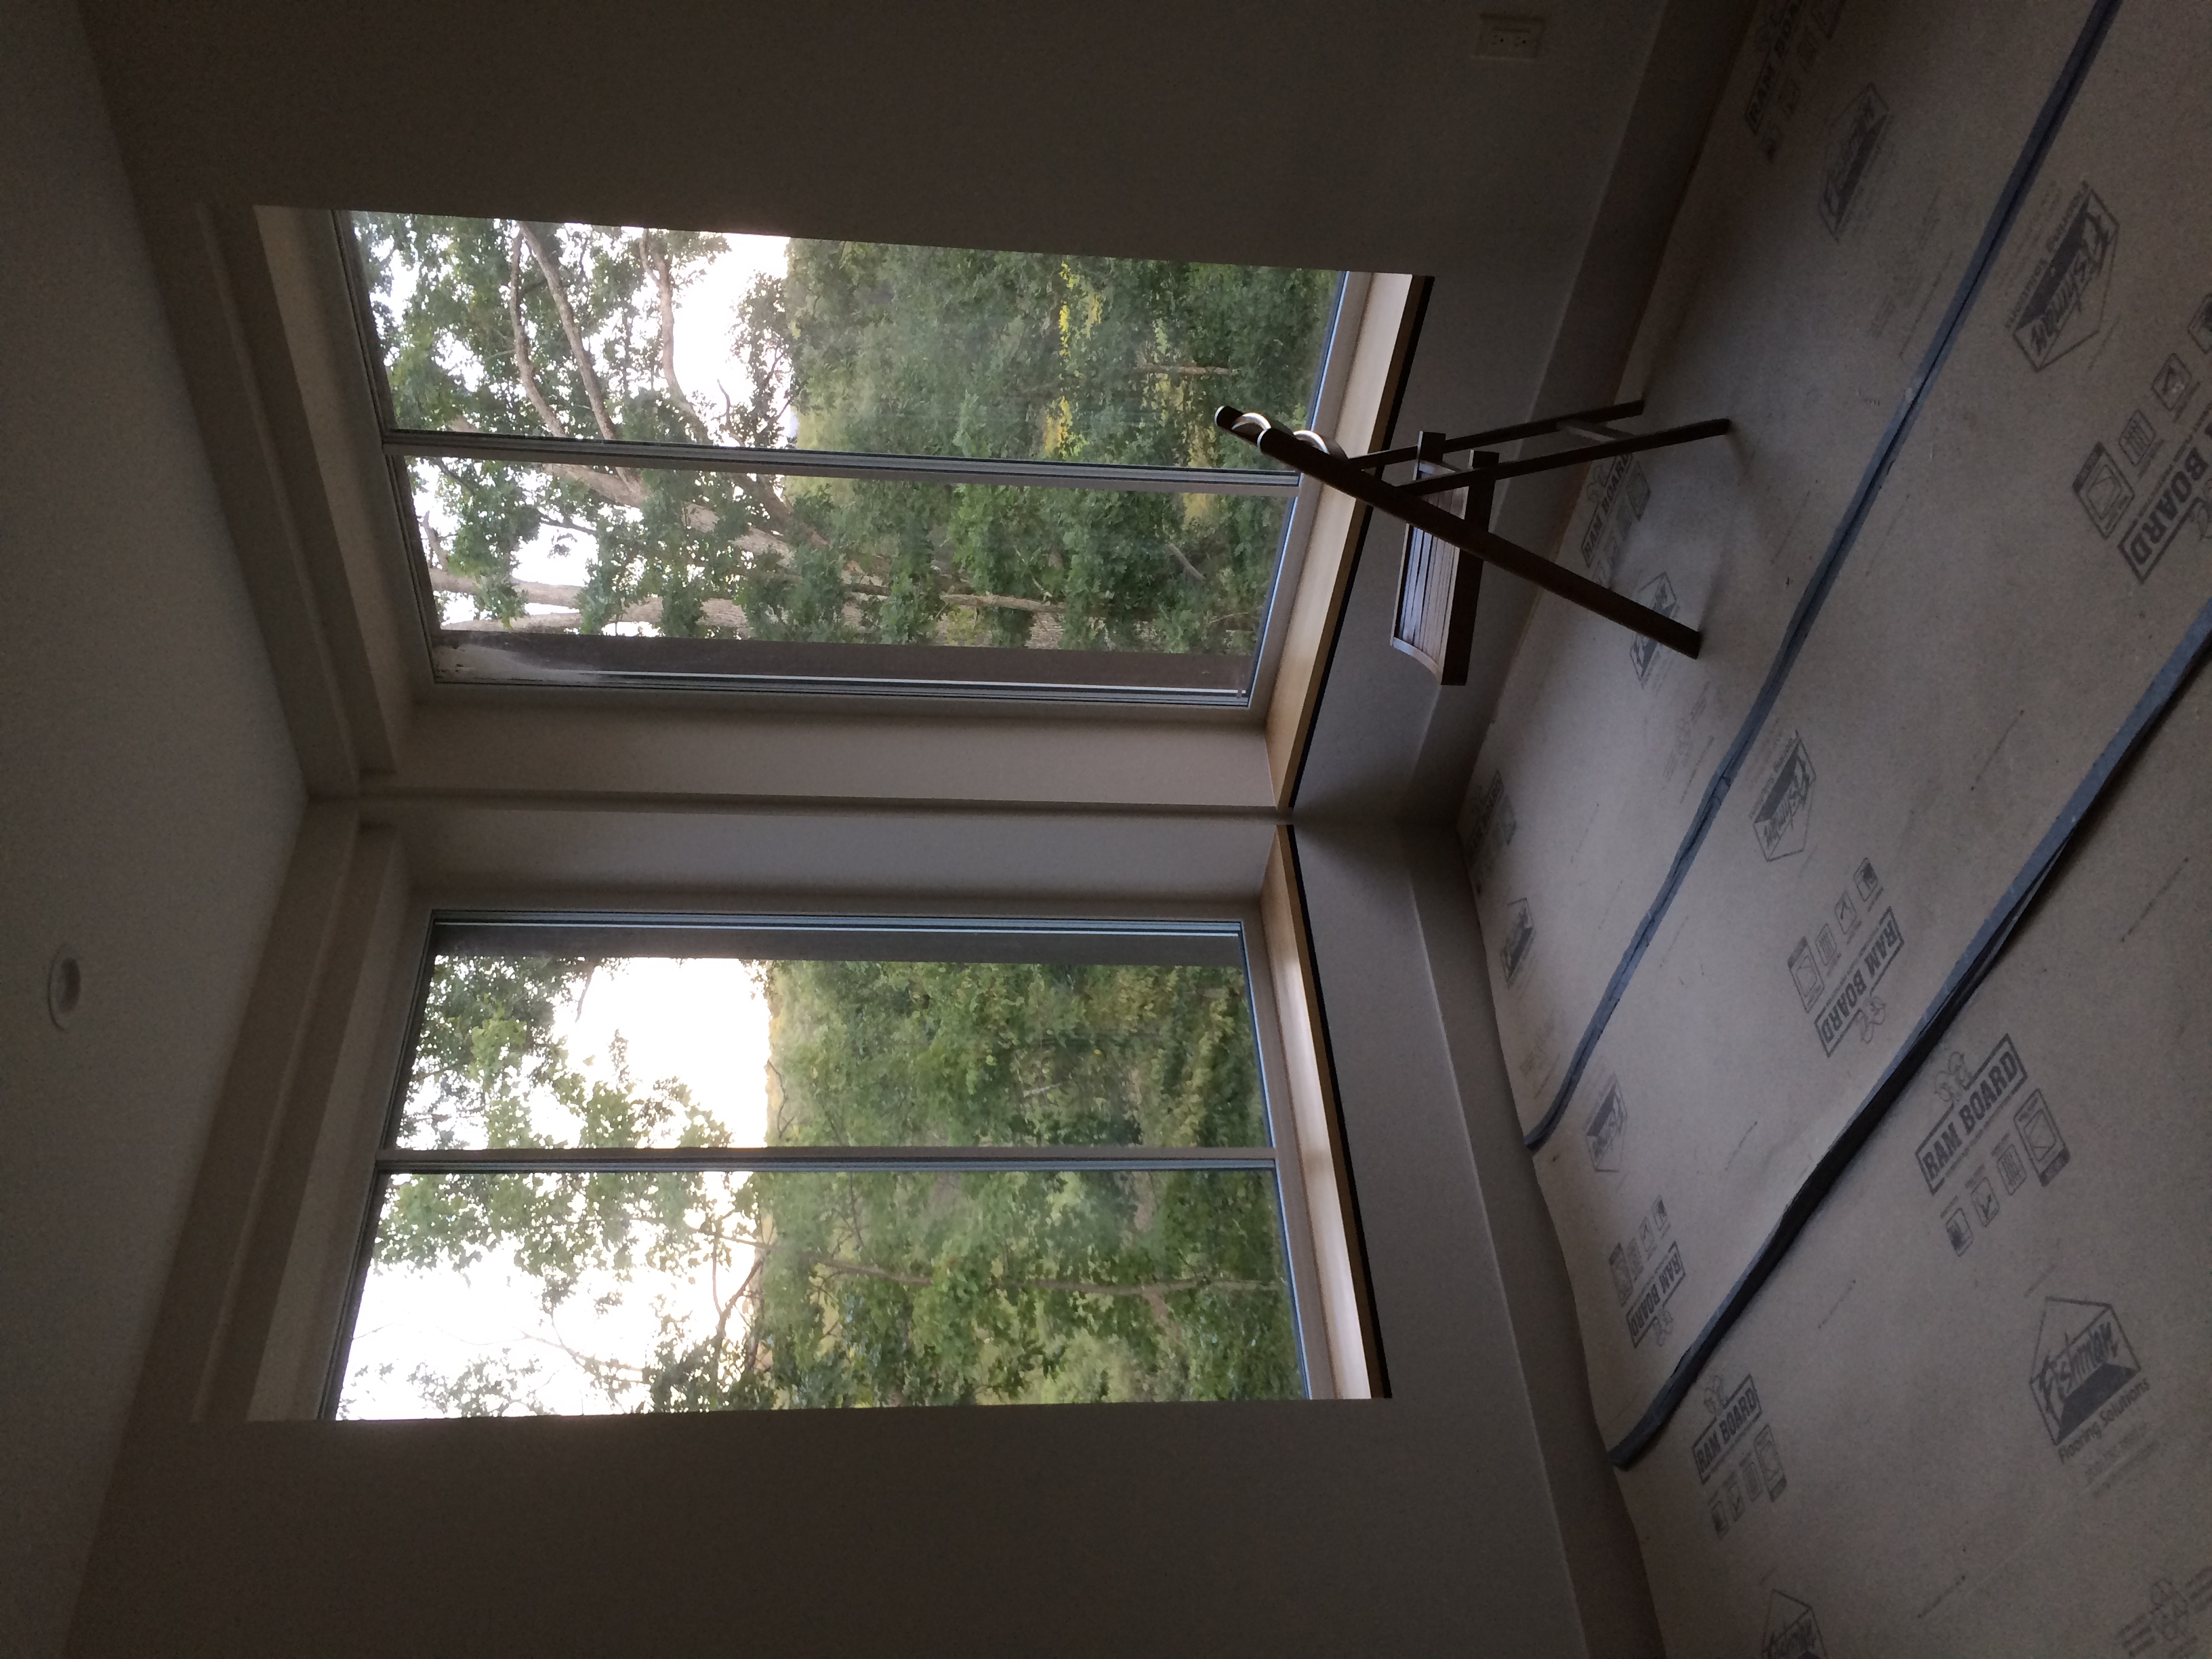
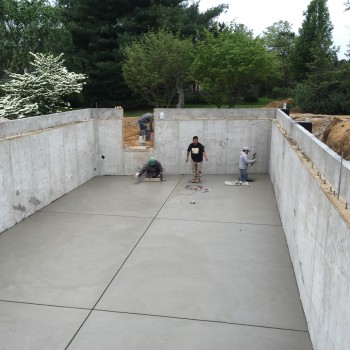
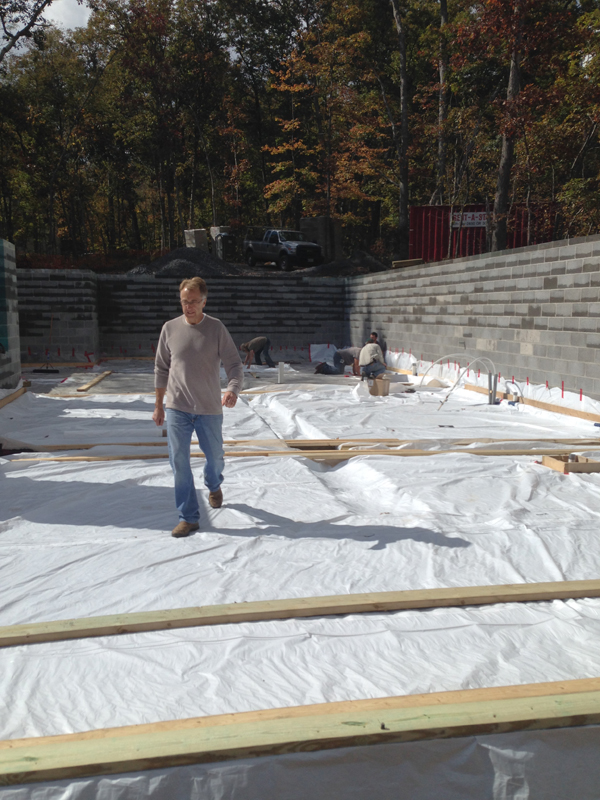
I think I’ve mentioned before that it has been a once-in-a-lifetime opportunity to work with an amazing artist and sculptor on their net zero, passive house.  We took the day to visit the site in New Jersey and it was thrilling to walk through these spaces that as complicated as they were in 2D, I was able to create the 3D visualization in my head to successfully build a set of construction drawings.  But there is nothing like walking through the actual spaces that now physically exist.
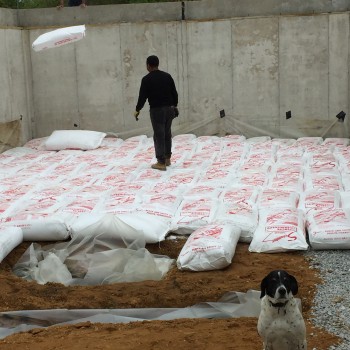
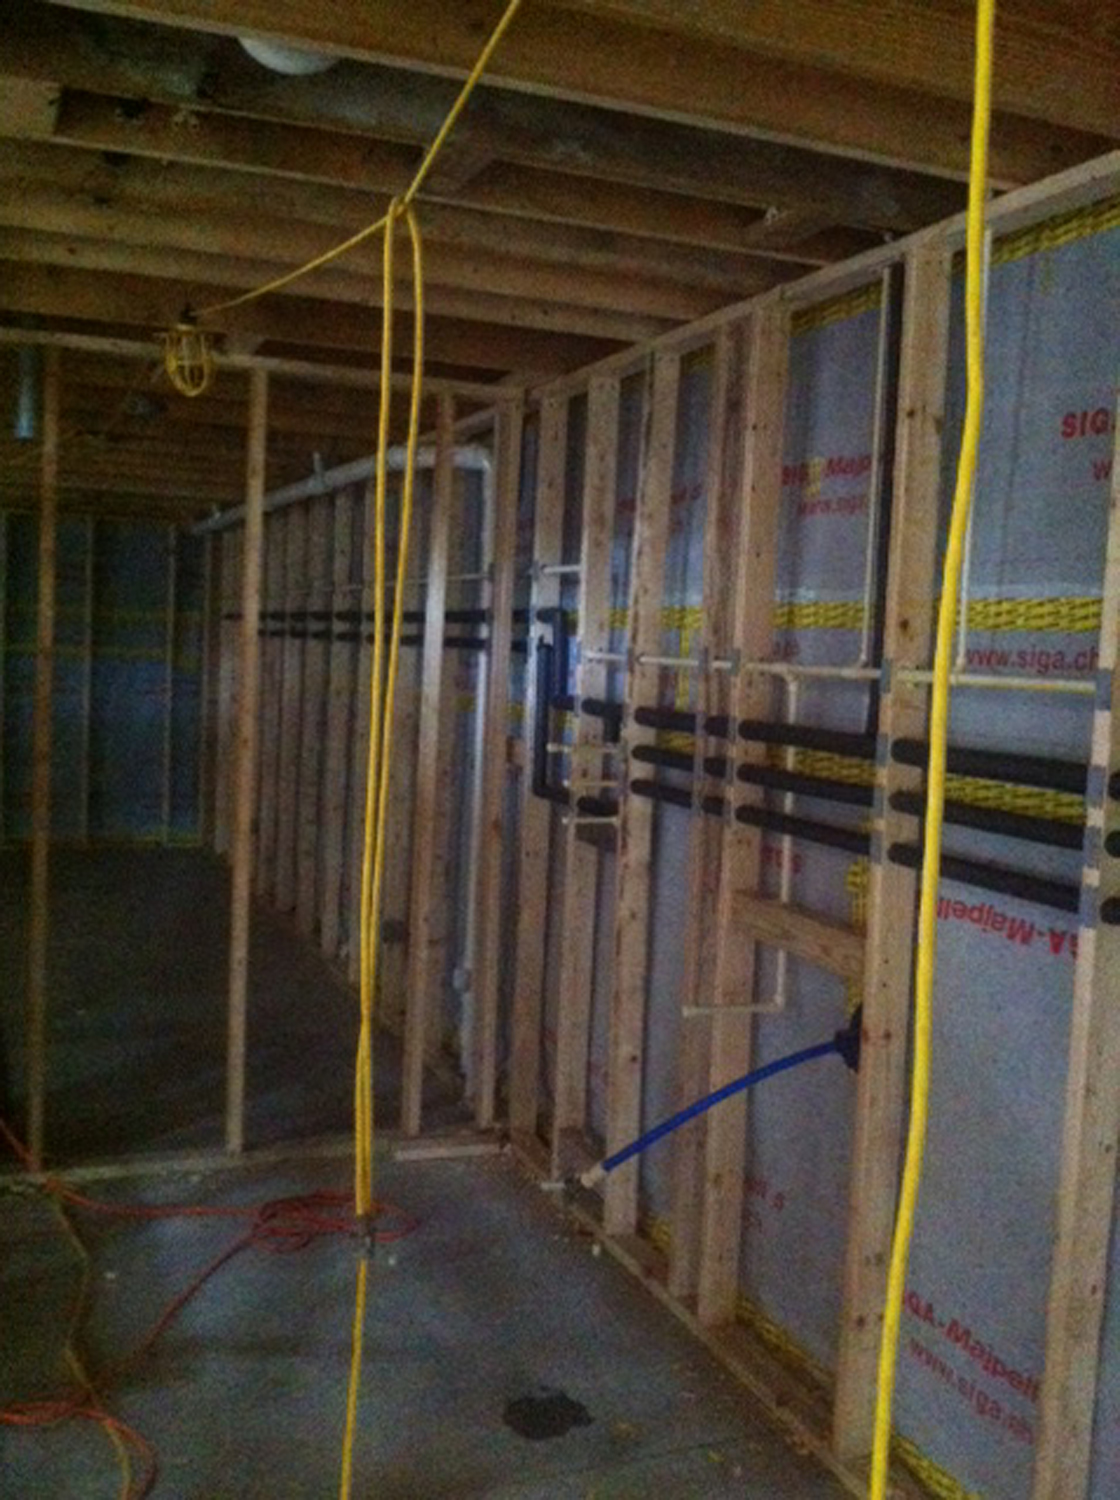
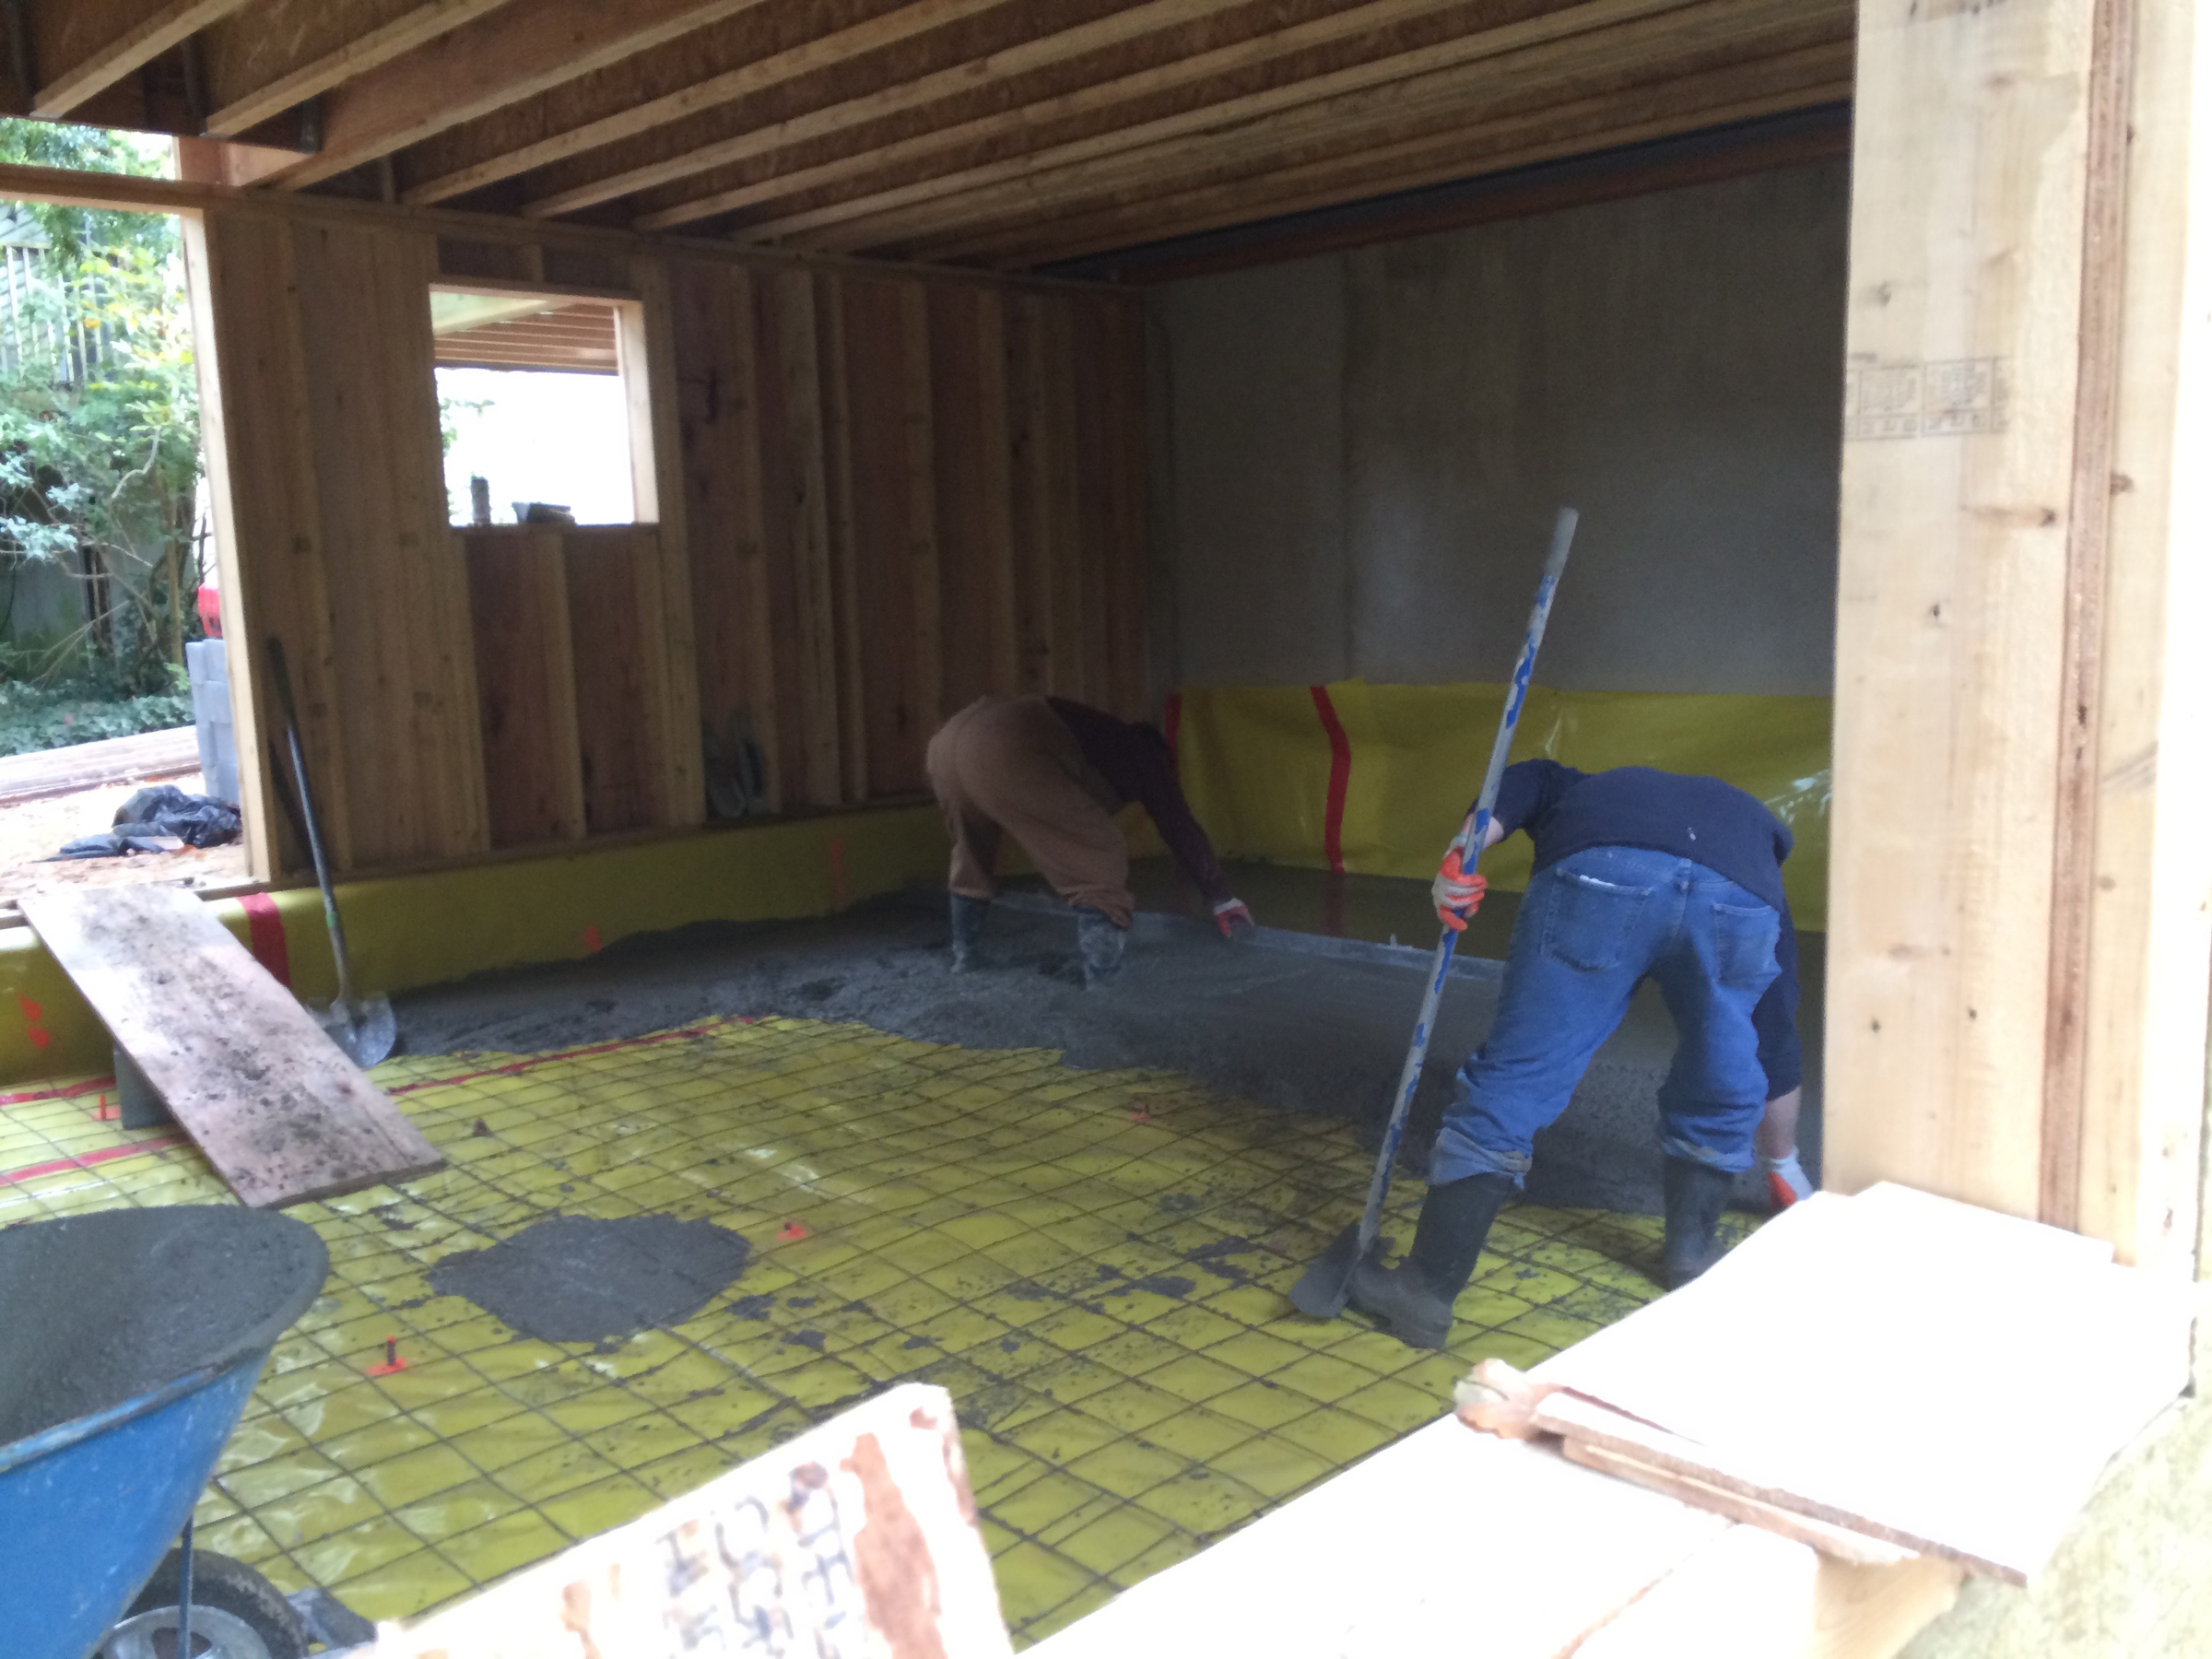
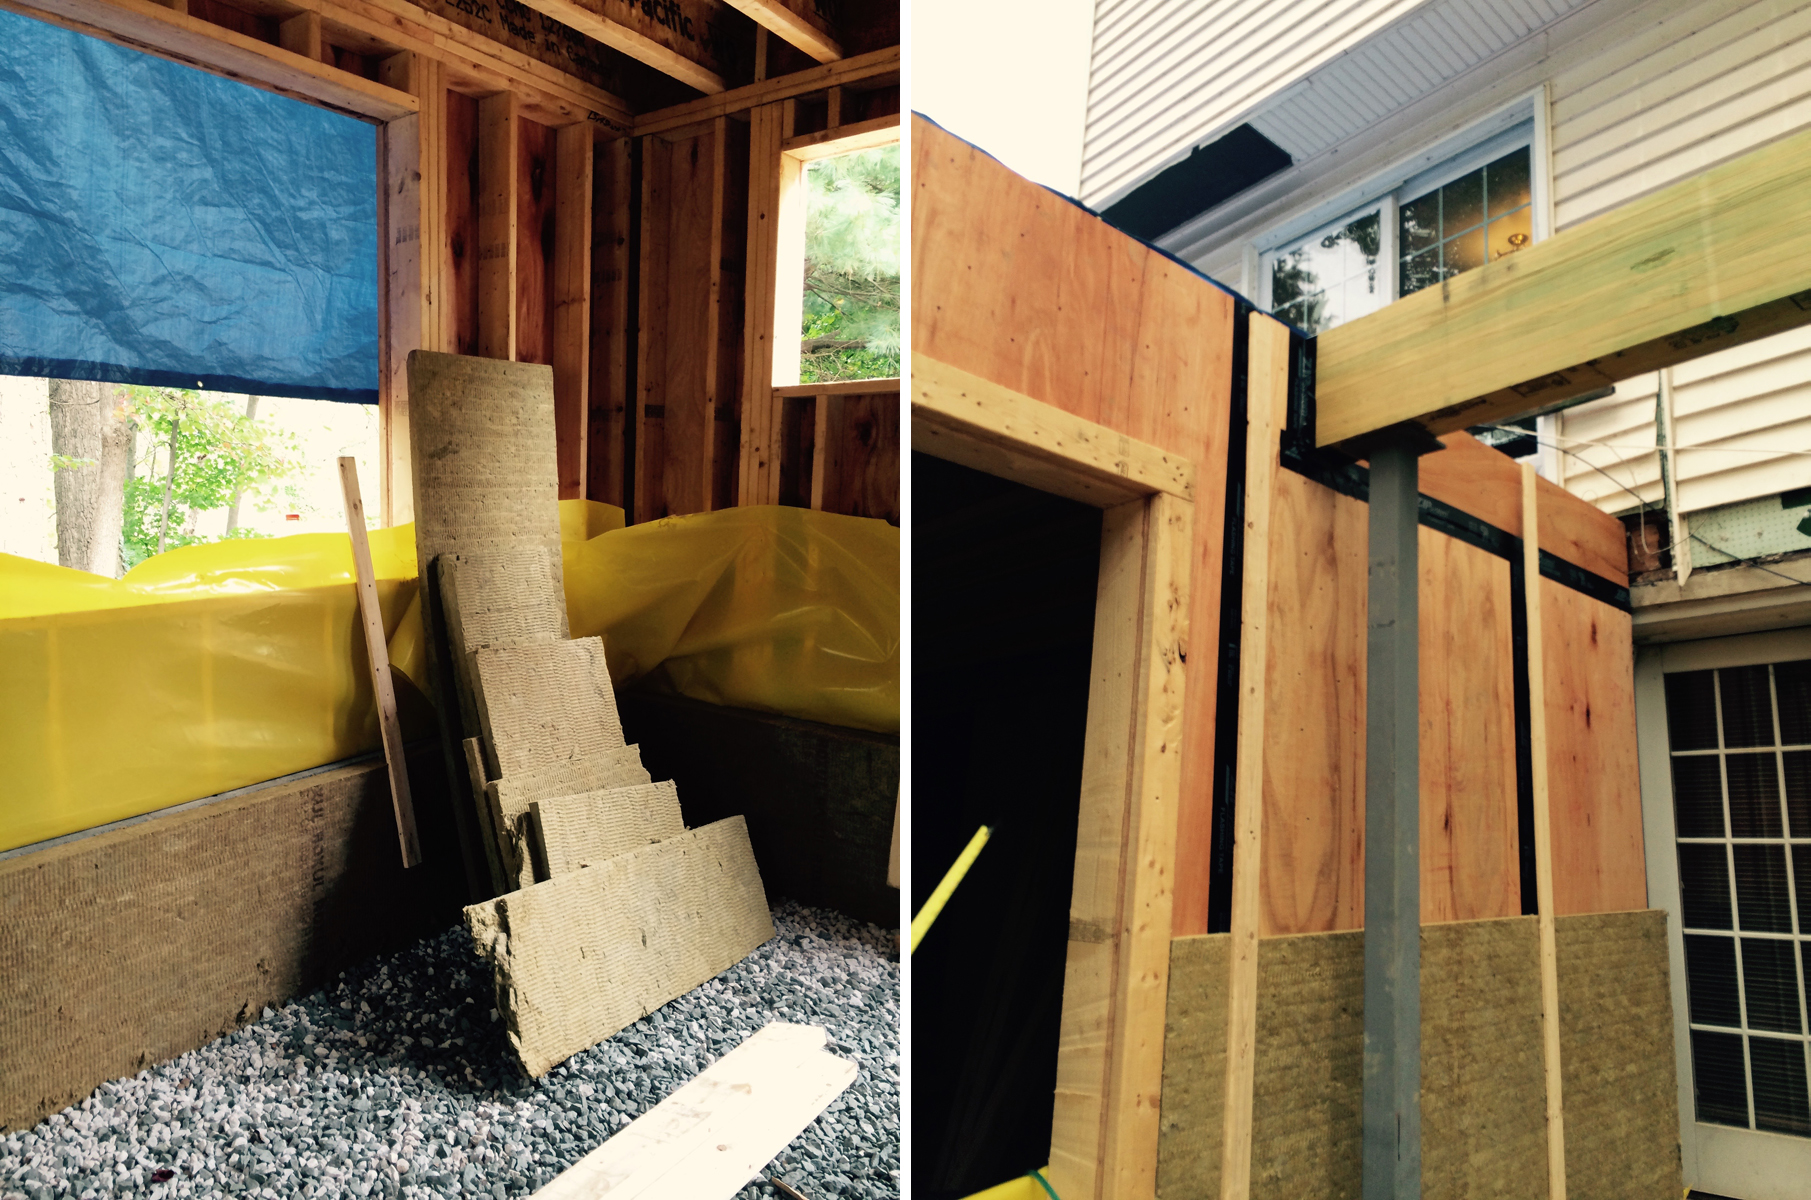
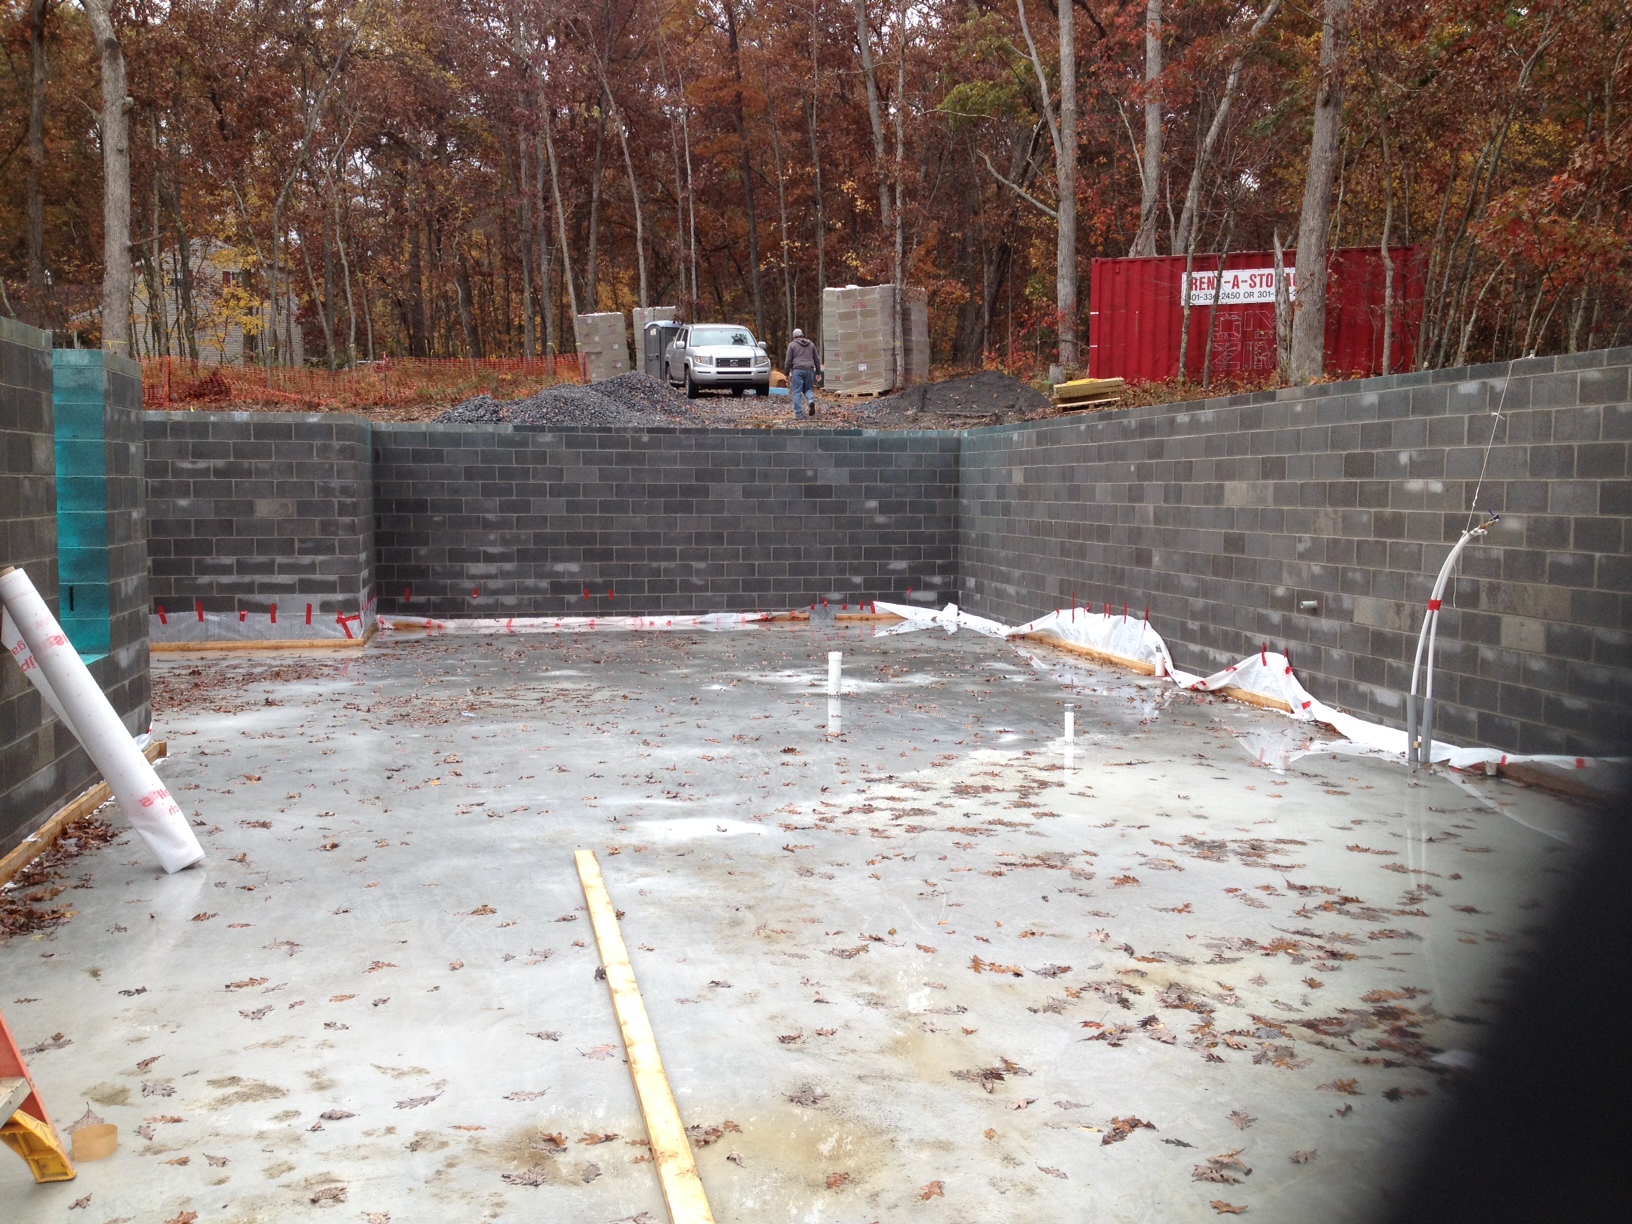
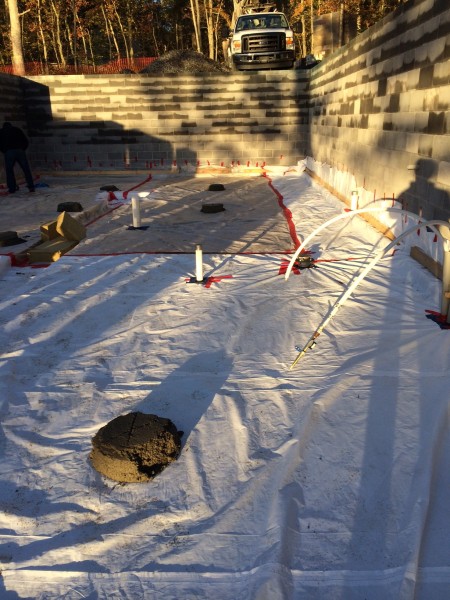
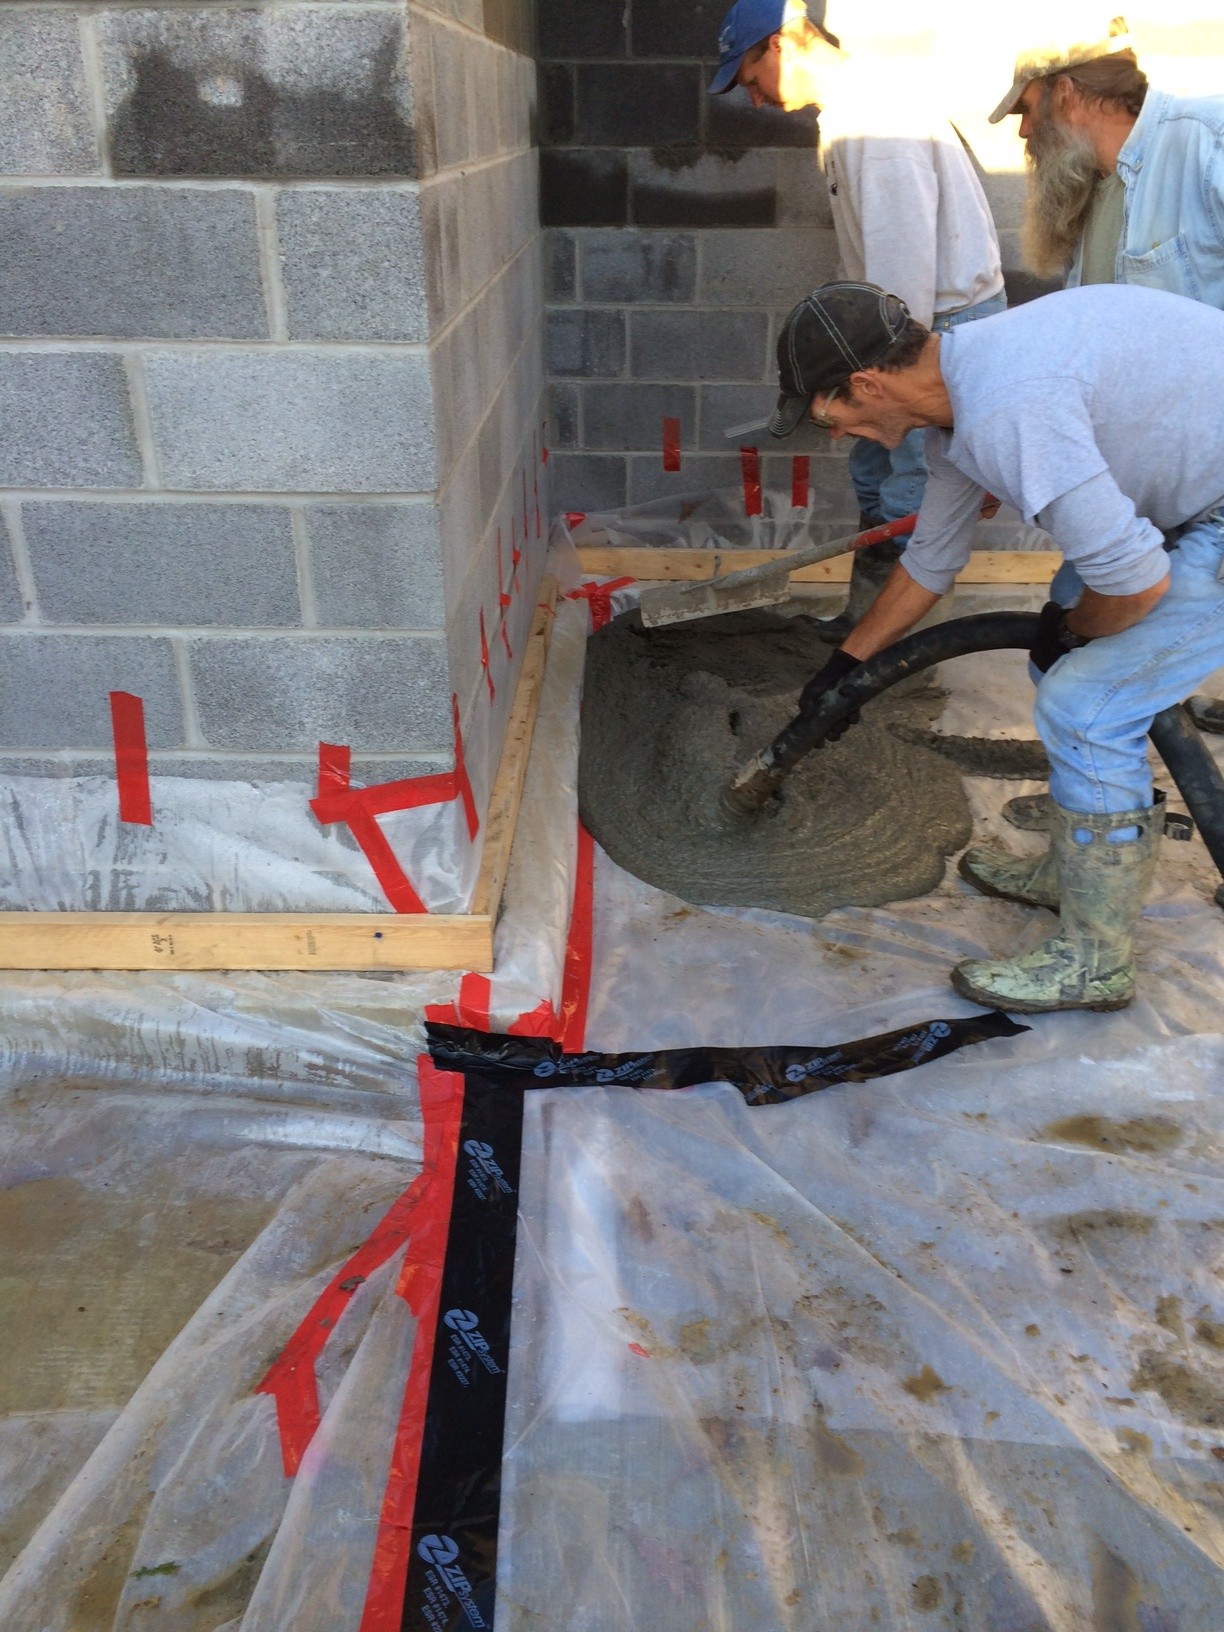
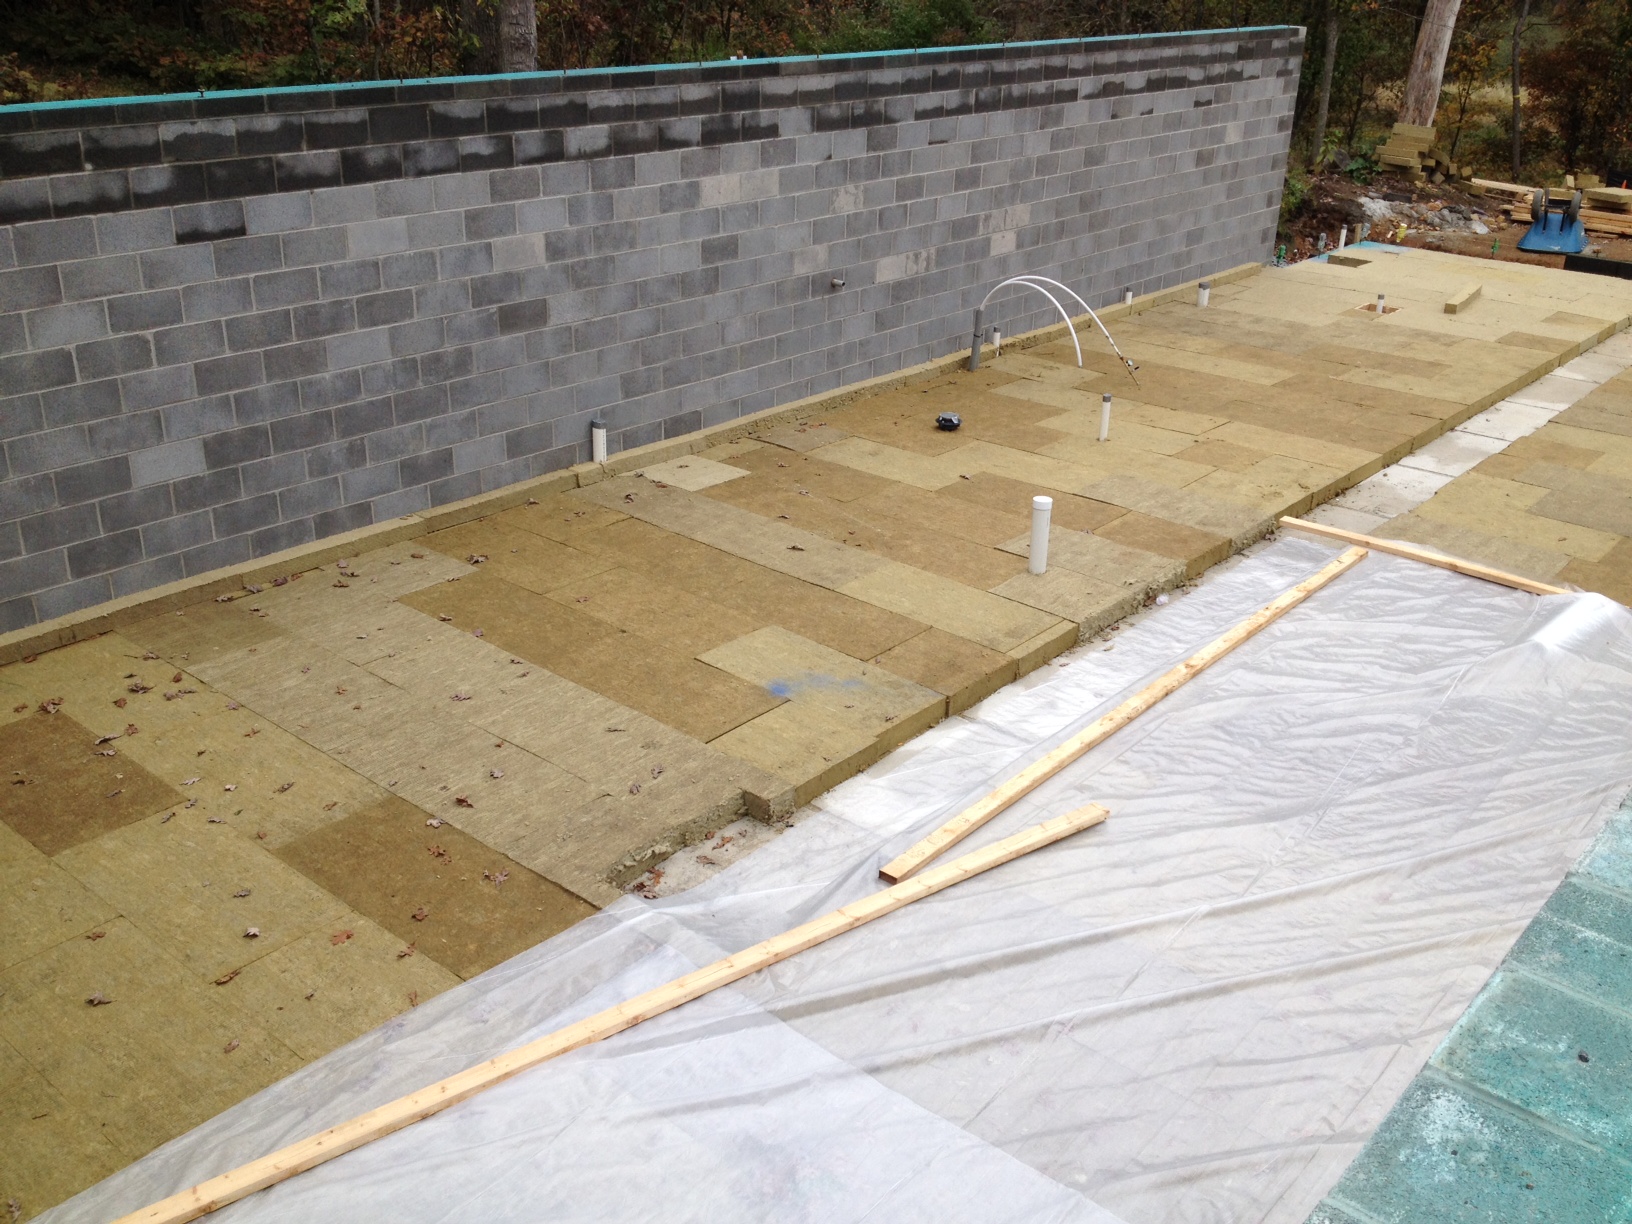
So many great things happening with this project – foam-free and net zero; perlite under slab; pre-manufactured wall trusses as the insulation cavity; low-cost, DIY construction techniques; and creative use of color and material.
I can’t forget to add the experience of exceptional lunches from the garden with every visit!

January 2, 2017

We are thrilled at the success and completion of our first Foam-Free, (near) Net Zero, Passive House in Western Maryland.  The home is currently in the final stages of testing, certification and interior finishing. Most of the progress can be followed on their website, it’s nicely detailed and as such might offer good inspiration to those DIY types. It has been an educational process with material usage, system selection and install, air sealing and insulation, window install and team collaboration.
pope_9kw_pvarray_10262016
The views and placement of the house are extraordinary and achieve the homeowner’s goal of a comfortable, accessible, high performance home designed to view the meadow, marsh and forest.
img_8033
For more photos of the final walk-thru, visit the project page.

May 26, 2016

We are helping to realize a sculptor’s design of the Honeycomb House.  The project is designed to meet Passive House Standards, be Net Zero Ready and will be completely FOAM-FREE. It is a pleasure and a challenge to be part of this creative venture with Michael Hindle of Passive to Positive and Daniel Gantebein, sculptor!
We are thrilled that this project is now under construction.  The owner is serving as general contractor and has overseen the successful initial pour of the basement wall!

As well as the install of our foam-free foundation using perlite under the slab.

The StegoWrap vapor barrier was used and the slab was poured.

Given that this was our foundation plan, I’d say so far, so good!
Screen Shot 2016-05-26 at 2.17.57 PM
 

December 17, 2015

like beautiful garage doors by Clopay to compliment the cedar porch…
garage doors blog
and clean, straight plumbing and condensation lines set against a backdrop of taped SIGA Majpell.
photo4
 

December 16, 2015

Upon the arrival of the Roxul mineral wool insulation for sub slab, the contractor relaid the Stego vapor barrier (taped to edges at perimeter).  This delay actually may have been a good thing, as the mineral wool was protected from the elements and heavy foot traffic and slab was able to be immediately poured. slab pour
The framing of the second floor and roof are nearing completion.  We are using 2×6 structural walls with 3/4″ plywood sheathing, all edges and corners taped and sealed.  The headers above each opening are two TJIs with Roxul mineral wool sandwiched between them – we have insulated headers!  The lead carpenter did not find it to be time consuming or of any issue, but rather thought it was pretty cool and a no-brainer.
The fireplace is a Rumford fireplace, the most efficient design in providing warmth to a space.
roof and fireplace

September 28, 2015

The construction for the addition and renovation to our Gunpowder project is moving along quickly. Because the under slab Roxul mineral wool was a little difficult to source and had a longer lead time, our contractor got creative and “pre-installed” the StegoWrap vapor barrier to wrap under the sill plate.  We will go back and cut out the barrier to install slab insulation, tape back in the vapor barrier and pour the slab.
vapor barrier
Framing is 2×6 walls with 3/4″ plywood sheathing, fully taped to provide our primary air barrier.  We are then installing 1-1/2″ of Roxul mineral wool, Tyvek and then furring strips.  This has been a terrific learning experience as we work with the contractor and project lead to find economical, smart ways to create a foam-free, well-sealed healthy envelope.
mineral wool on walls
 

May 13, 2015

brennan + company’s cutting edge Foam Free foundation detail mentioned in Journal of Light Construction article! Thank you to Michael Hindle of Passive to Positive to crediting us for working together to create this detail.
photo 3-1

April 29, 2015

Upon hanging the TJI insulation cavity, the vapor open Weather Resistant Barrier (WRB) was installed and all seams were taped.  Given the pressure of the cellulose that will be blown-in behind this WRB, we decided to use Solitex Mento 1000 and taped with our favorite Tescon Vana tape.
mento and tape blog
The next layer is the ventilation cavity / rainscreen / furring strips.  We decided on horizontal with vertical furring strips to keep the cellulose bulge in check and maintain an acceptable ventilation cavity as well as provide a more substantial nailing surface for our engineered wood siding.

October 28, 2014

The slab pour was a successful event!
photo 3
LESSONS LEARNED:
1.  Use slumps for leveling rather than puncturing your vapor barrier with pins.
photo 2-2


2. Hold your hose up off the vapor barrier.
photo 1-2


3. Make sure Michael has plenty of coffee if you’re going to make him get up that early.
photo 3-1


October 9, 2014

Two 5″ staggered seam layers of Roxul RockBoard80 have been laid as our under slab insulation. The total 10″ of insulation was decided on because it simplified foundation construction and ordering. Only 8″ was necessary per dynamic modeling.
photo 2
LESSON LEARNED:  Next time, we will use the higher 11 lb density Roxul ComfortBoard CIS under slab due to construction traffic issues, and lay boards across for walking paths.  It would be advisable to also immediately cover the mineral wool to protect it from getting wet.
photo 3-1
After all mineral wool was in place, our vapor barrier – Tu-Tuff by Sto-Cote – was installed.  Tu-Tuff claims to be an environmentally preferable product and is a cross-laminate, virgin polyolefin (rather than standard polyethelene).
IMG_3032a
LESSON LEARNED: Tu-Tuff is a 4 mil product, and we tried to tear and puncture it to no avail – it actually was tuff (sorry, Michael) and meets all the technical requirements.  Lesson(s) learned, 1) their proprietary tape is not up to snuff when it comes to sticking for air sealing purposes and we had to scramble to find tape to replace it – always have some Wigluv or Tescon Vana on hand!; 2) you can’t tape when surfaces are wet with dew; 3) Tu-Tuff being only 4 mil and thin did not stay smooth, but rather preferred to stay wrinkled.